
Follow these steps once after installation. They take you from a fresh install to a confirmed site profile, a verified backup and a first audited cleanup. The steps are the same in both editions; differences are noted where they apply.
- DualFix Pro: the menu is ARN DualFix. Make sure your licence is active first: see Activate your DualFix Pro licence.
- DualFix Free: the menu is Cleanup and Recovery.
Before you begin
Take a backup of the site with your hosting or another tool, and keep a copy outside the site. A maintenance tool should never be your only way back.
1. Run the Setup Wizard
Preview and cleanup need a confirmed site profile, so start here.
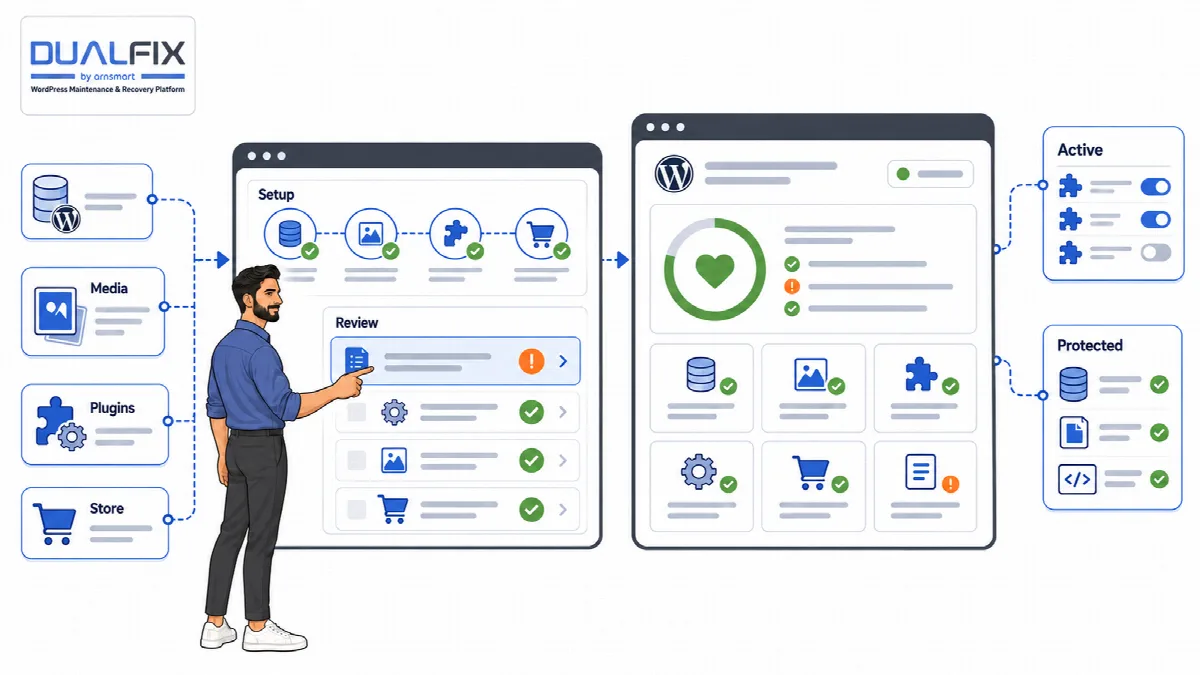
- Open Setup Wizard and click Run Environment Scan. Review what DualFix detected: WordPress, PHP, database, uploads, active plugins and theme.
- Step through the detection steps. DualFix Pro has seven steps (Environment, Media, Ecosystem, Store, Config, Policy & Runtime, Results); DualFix Free has five (Environment, Ecosystem, Config, Policy & Runtime, Results).
- In Config, choose the Site Type, the Cleanup Policy and the Automation Preference, check the protected data and click Save Setup. Then run the environment scan again.
- In Results, check the profile and click Confirm Detected Profile.
See Profile your site with the Setup Wizard for every step.
2. Check the safety settings
Open Settings → General.
- DualFix Pro: keep Safe mode (conservative defaults everywhere), Protect original (non-generated) uploads and Protect WooCommerce orders/customer data on, and leave Batch size and Confidence threshold (%) empty so they stay Automatic.
- DualFix Free: leave Batch size empty so it stays Automatic.
See Set Safe mode, confidence threshold and batch size.
3. Create and verify a backup
- Open Backup & Restore and click Full Backup.
- Wait until the backup appears under Recent Backups on the Backup Center tab and shows Restore-ready.
- Click Verify to check the archive again, then Download to keep a copy outside the server.
See Create, verify and schedule backups.
4. Run your first cleanup
Start small: one cleanup flow, read carefully.
- Open Cleanup Launcher. Under Cleanup Flow, click Run First Scan.
- When the scan is complete, read the findings and click Create Preview.
- Click Run Verify. Read the reason for any item that is held back.
- Click Confirm Cleanup and confirm the message. DualFix takes a Safety Snapshot first and removes only the items Verify approved as safe.
- The audit runs automatically right after the cleanup. Read it on the same page.
In DualFix Pro, the Cleanup Launcher flow runs across all active modules. Media Hygiene, Residue Cleaner and WooCleaner also have their own pages, each with its own flow. See Run a guarded cleanup.
5. Check the site and keep the way back
Open a few pages, forms and, on a store, the cart and checkout. If something changed that you did not expect, go to Backup & Restore → Snapshots & Rollback and click Restore Snapshot for that cleanup. Snapshots are kept for 30 days. See Restore a backup or roll back a cleanup.
6. Decide on automation later
Auto Mode stays off until you turn it on. Run a few manual cleanups first, and when you trust the results for your site, see Automate maintenance with Auto Mode.