
Linkix Pro adds three advanced rules to a redirect: Device, Schedule and Rotation. You switch them on in the Advanced Rules part of the Create redirect form. One public path and one QR code can then serve different targets.
Where to find it: ARN Linkix → Redirects → Create redirect → Advanced Rules. For the basic fields, see Create redirect rules.
Combinations
| Rules | Allowed | Shown in the list as |
|---|---|---|
| Device | Yes | Device |
| Schedule | Yes | Scheduled |
| Rotation | Yes | Rotation |
| Device and Schedule | Yes | Device + Scheduled |
| Rotation and Schedule | Yes | Rotation + Scheduled |
| Device and Rotation | No | The form disables one when you tick the other |
The counters above the form show Total Redirects, Active, Scheduled and Rotation.
Device redirects
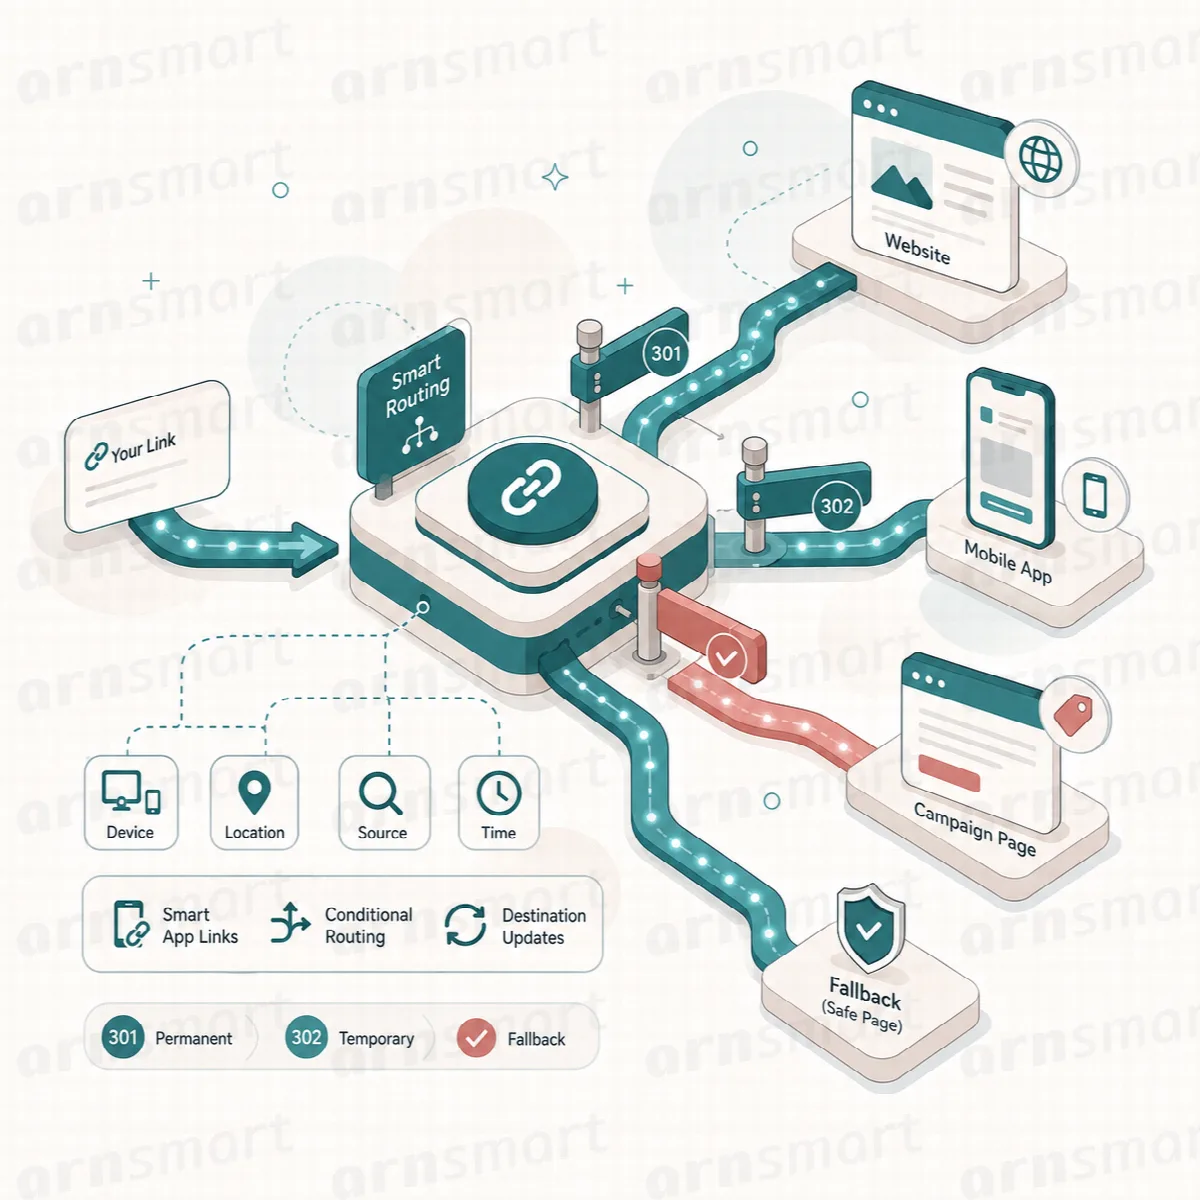
Send iPhone visitors to an App Store page, Android visitors to Google Play, other phones to a mobile page and desktop visitors to the main target.
- Fill in Source Path, Target URL (the desktop and default destination), Redirect Type and Status.
- Tick Device. The Device Redirect Settings appear.
- Fill in any of Mobile URL, iOS URL and Android URL.
- Click Add redirect.
| Visitor's device | Linkix sends the visitor to |
|---|---|
| iPhone, iPad or iPod | iOS URL; if empty, Mobile URL; if empty, Target URL |
| Android | Android URL; if empty, Mobile URL; if empty, Target URL |
| Other phones and tablets | Mobile URL; if empty, Target URL |
| Desktop | Target URL |
Device detection relies on the information the visitor's browser sends. Test the rule on each kind of device you want to support.
Scheduled redirects
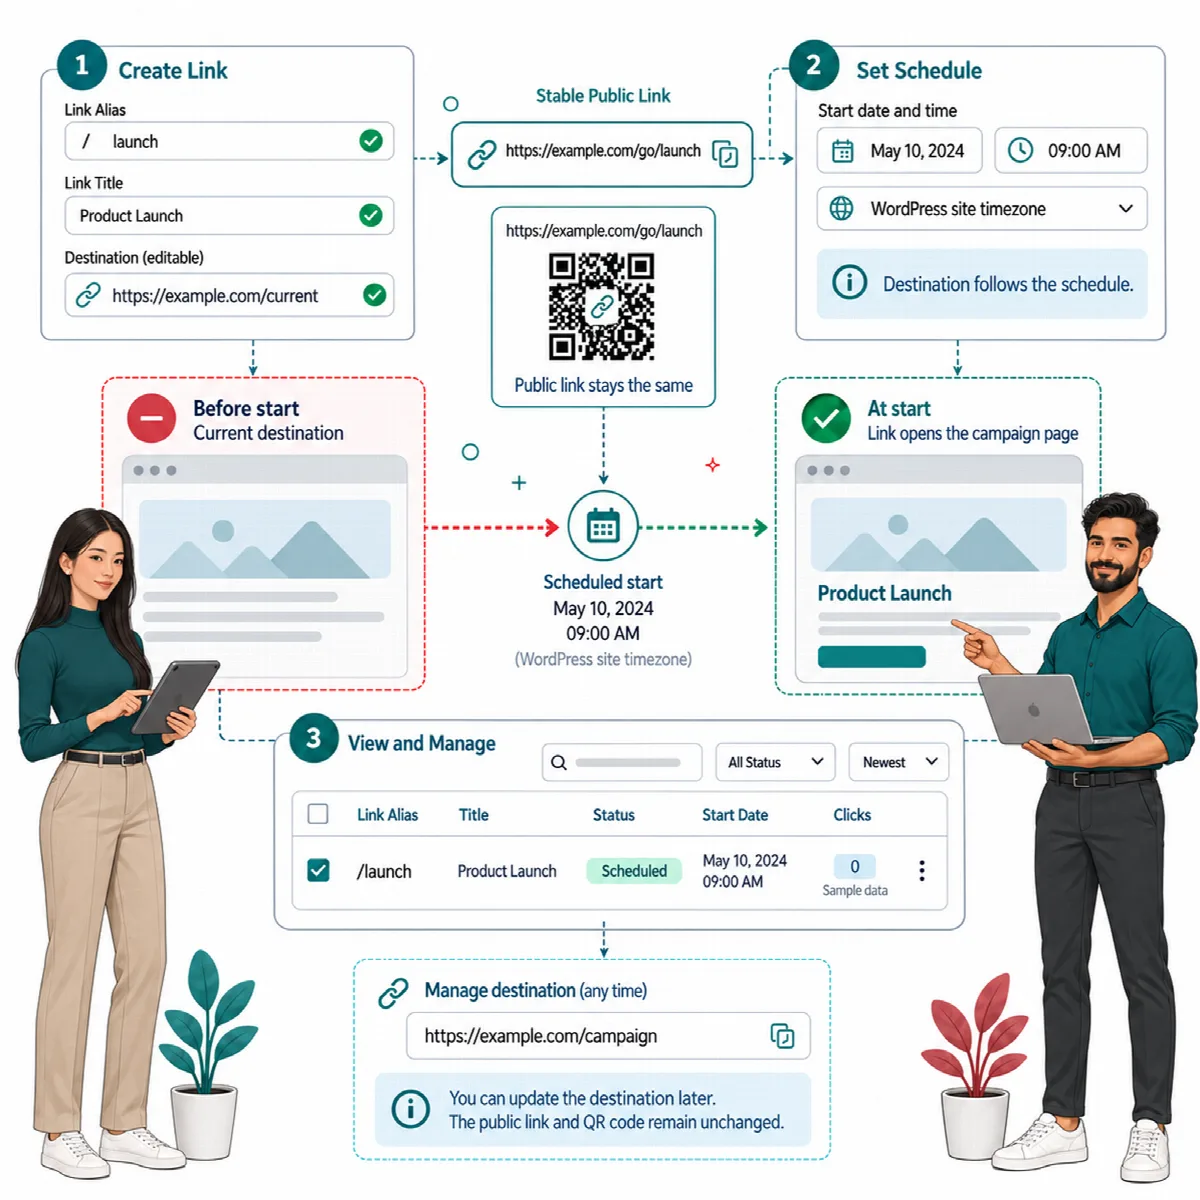
A scheduled rule sends visitors to the target inside a time window and to a fallback URL before it starts and after it ends. Use it for printed material prepared before a launch, embargoed announcements and seasonal offers.
- Fill in Source Path and Target URL (the destination inside the window).
- Tick Schedule. The Scheduled Redirect Settings appear.
- Enter a Start Date, an End Date or both.
- Enter a Fallback URL. It is required.
- Click Add redirect.
Linkix reads the start and end times in your site's time zone, the one set under Settings → General in WordPress; the form names that time zone under End Date. Linkix Pro 2.0.0 reads them as UTC. Test the rule before, during and after the window.
Linkix refuses the rule when no date is given ("Provide a start date, end date, or both for a scheduled redirect."), when the fallback is missing or not valid, or when the start date is later than the end date.
Rotating redirects
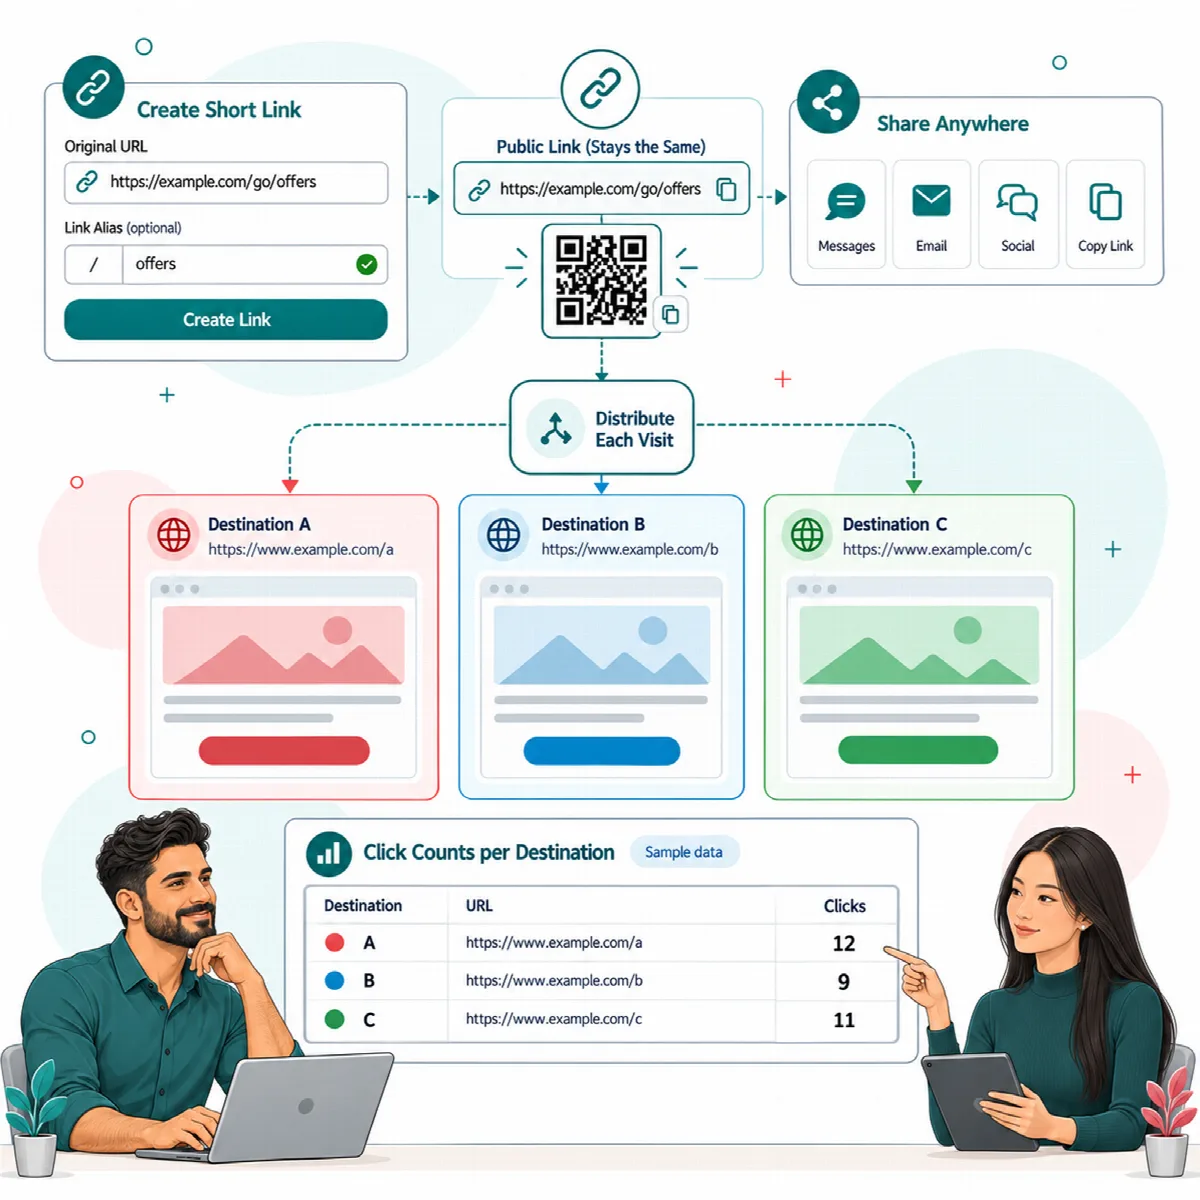
A rotation spreads visitors across several destinations behind one path, for example to compare landing pages or share traffic between partner stores.
- Fill in Source Path and Target URL.
- Tick Rotation. The Link Rotation Settings appear.
- Choose the Rotation Mode (see the table below).
- In Rotation URLs, add one URL per line. At least one must be valid.
- Click Add redirect.
| Rotation Mode | What happens |
|---|---|
| Round Robin (default) | Each visit goes to the next URL in the list, in order |
| Random | Each visit goes to a URL picked at random from the list |
Visits are counted for the rule as a whole. To measure each destination separately, give each destination its own short link and use those short links as rotation URLs.
Check advanced rules
The Broken Link Check on the URL Health screen checks every target of a rule: the main target, the device URLs, the fallback URL and every rotation URL. See Check URL Health and broken links.
The check requests the targets as you saved them, and visitors are sent to the same saved targets. To see which target a visitor gets on a given device or at a given time, also open the source path itself in a private window.