
Linkix Pro turns a bare QR code into a finished card with your brand name, colors and fonts, and exports it as PNG, SVG, a print view or a card file. Linkix Free creates PNG codes and lets you set their colors.
Where to find it: ARN Linkix → QR Studio → QR Template Editor for the design, ARN Linkix → Settings → QR & branding for the default size and format and the print views.
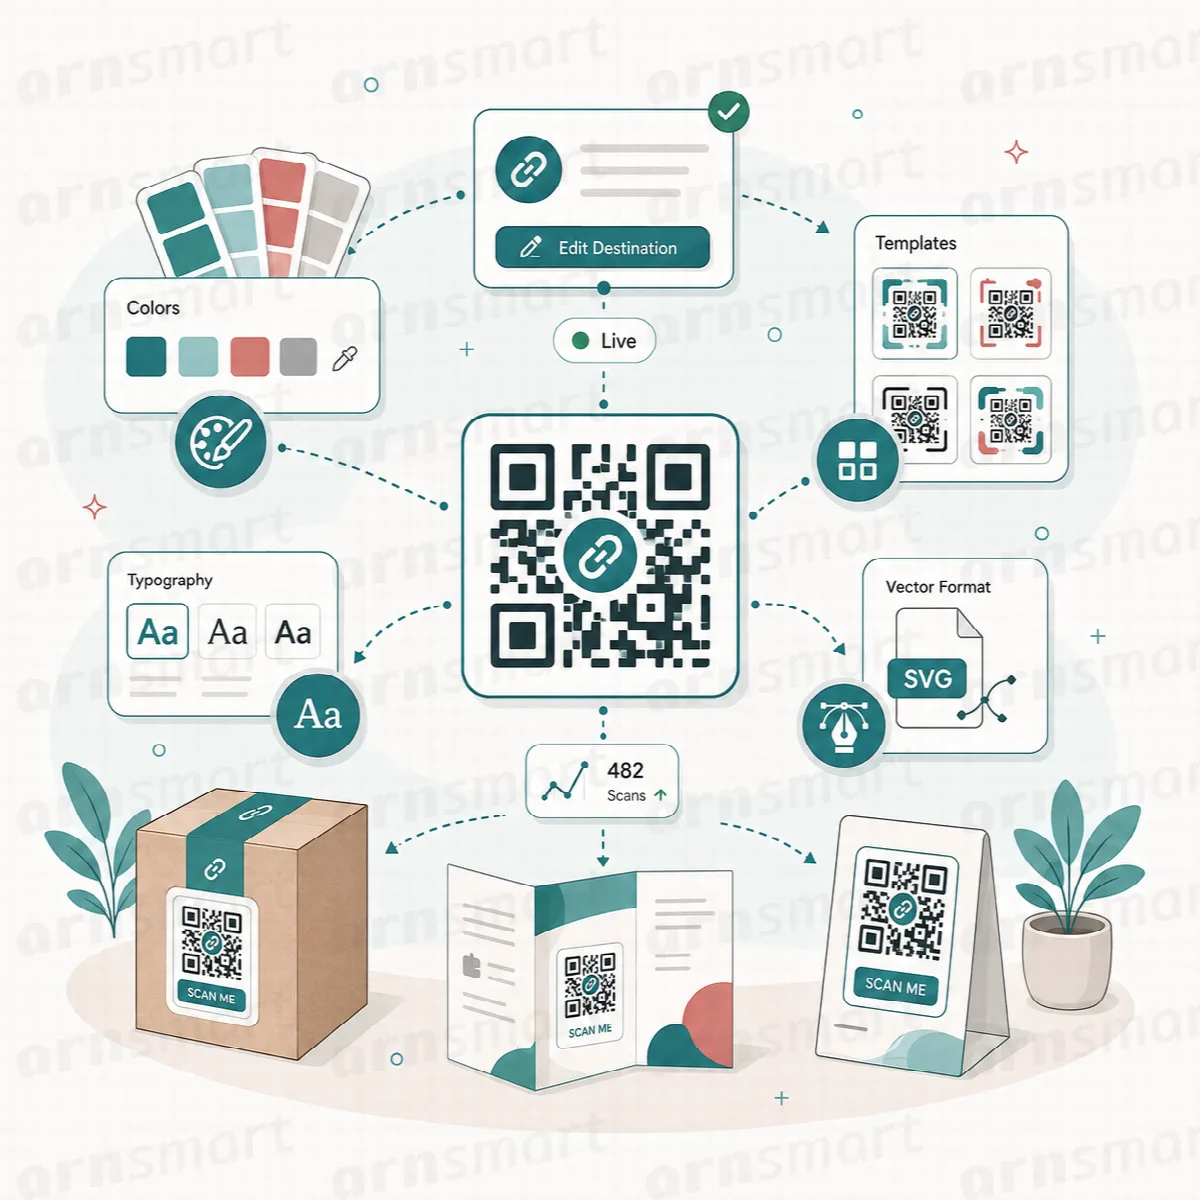
Choose a template
Linkix Pro includes nine built-in card templates: Brand card, Clean card, Poster card and Template 01 to Template 06. Template 04 is the default.
- Open QR Studio and click the QR Template Editor tab.
- Click Edit template on the template you want to change.
- Click Set as default to use it for new cards and print views.
Edit a template
The left side of the editor holds the values; the right side shows a live preview. Drag the boxes on the preview to move the QR code, the scan block, the URL strip and the text.
| Section | What you can change |
|---|---|
| Text content | Brand name, Brand subtitle, Footer text |
| Font sizing | Size and weight (Normal, Medium, Bold) of the brand, subtitle, title, URL, scan text and footer |
| Language and font | Language subset and a Google Font from that subset |
| Colors and fills | Accent style (Solid or Gradient) and colors, QR foreground and background colors, scan text color and background, transparent QR or scan background |
| Text alignment | Left, Center or Right for each text element |
| Layout positions | Position of the brand, subtitle, title, QR, scan block, URL strip and footer |
When you are done, click Save template editor. To return to the template list, click Back to templates.
Strong contrast between the code and its background keeps it readable. Scan every styled code with more than one phone before you print a large run.
Set the default size and format
In Settings → QR & branding:
- Set Default QR size: 120 to 1200 px. The default is 512 px.
- Choose the Default QR format: PNG (the default) or SVG.
- Click Save Settings.
Bulk downloads from the Short Links list and Export PNG and Export SVG in the Linkix URL Panel use this size, and QR Studio suggests it for new codes. The button of the default format comes first in the Linkix URL Panel and in the bio page and Smart App Links libraries, and the format list of a saved QR Studio code starts with it.
The Open Template Editor button on the same tab opens QR Studio → QR Template Editor.
Switch print views on or off
Enable QR print views in Settings → QR & branding is on by default. When you switch it off, the Print and Export Card buttons in the Linkix URL Panel, the Print QR sheet bulk action, and the Card format and Open asset button in QR Studio are hidden, and a print page or card address opened directly shows "QR print views are off". PNG and SVG downloads keep working.
Export and print
| Where | What you get |
|---|---|
| Linkix URL Panel in the post editor | Export PNG, Export SVG, Print (a print view of the code) and Export Card (an HTML card file that uses the template's fonts, sizes, colors and QR position) |
| Short Links, list tools | Download PNG files (ZIP), Download SVG files (ZIP) and Print QR sheet for the selected links |
| QR Studio, saved codes | Choose PNG, SVG or Card and download |
PNG or SVG? PNG is the simple choice for screens and everyday print. SVG is a vector format: it stays sharp at any size, so use it for large prints, signage or when a designer works with the code in vector tools.
Check the final size and margins against your printer's requirements before you order.
QR colors in Linkix Free
Linkix Free sets the colors of its PNG codes in Settings → QR & branding: Foreground color, Background color and Transparent background. Card templates, fonts and SVG export need Linkix Pro.
Save your designs
Template layouts and styles can be exported and imported with the other Linkix Pro settings. See Settings, modules, settings export and data removal.