
WebPix adds a folder panel next to Media → Library and a folder list to the media window used by the post editor, Elementor and other screens that use the WordPress media window. Both editions include folders; WebPix Pro adds more options.
Folders are labels
Folders organize the media records. They do not move the physical files or change their addresses, so you can reorganize your library at any time without breaking links on your pages.
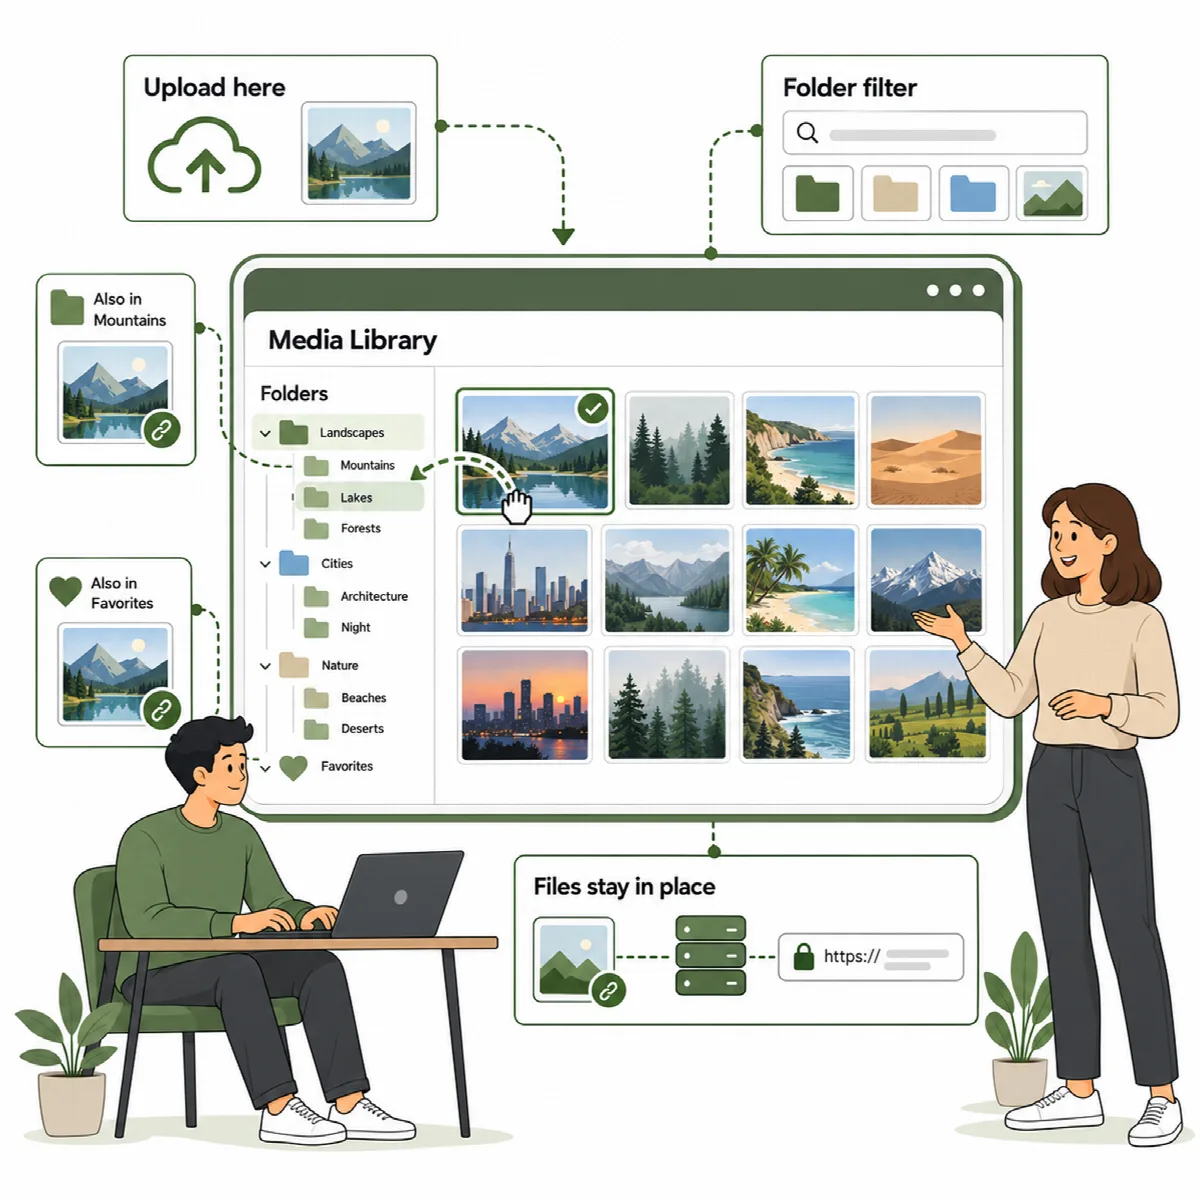
What each edition offers
| Option | WebPix Free | WebPix Pro |
|---|---|---|
| Create, nest, rename, move and delete folders | Yes | Yes |
| Drag media onto a folder, or "Move here" | Yes | Yes |
| Upload into the open folder | Yes | Yes |
| Folder list in the media window | Yes | Yes |
| Folder colors | No | Yes |
| One media item in several folders | No (one folder per item) | Yes |
| Each user sees only their own folders | No | Yes |
| Keep a folder away from the AI | No | Yes |
Turn folders on or off (Pro)
In WebPix Pro, folders are on by default under Settings → Folders → Use media folders. Turning this off hides the panel; your folders and their contents are kept.
On sites with several authors, turn on Own folders only ("Each user sees only their own folders"). Administrators always see and manage every folder.
Create and arrange folders
- Open Media → Library. The folder panel appears next to the library.
- Click New folder to create a folder. On an existing folder, use New subfolder to nest one inside it.
- A folder's menu also offers Rename, Delete, Move into… and, in WebPix Pro, Color.
Deleting a folder keeps its media items in the library, and its subfolders move up one level.
All media shows the whole library. Not in a folder shows the items that are in no folder.
Put media into folders
- Drag and drop: drag media onto a folder to move it there.
- Add to a second folder (Pro): hold Alt (Option on a Mac) while you drag to add the item to another folder instead of moving it.
- Move here: select media, then click Move here on a folder.
- Upload into a folder: uploads made while a folder is open go into that folder.
Pick images by folder while you edit
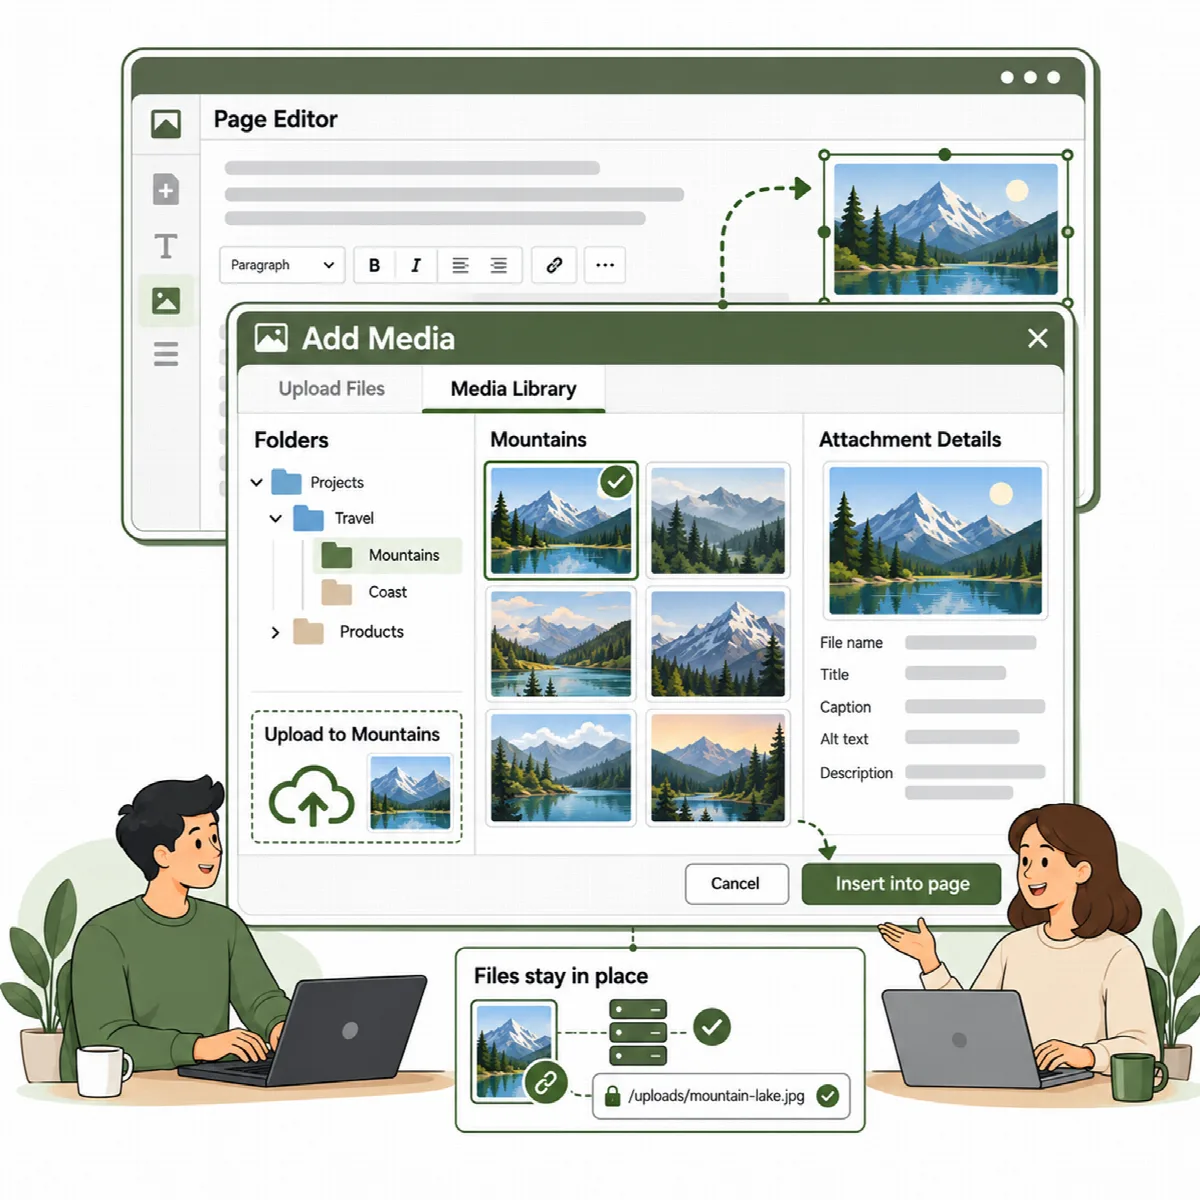
The same folders appear in the media window that opens when you add an image in the post editor, Elementor or another screen that uses the WordPress media window.
- Open the media window as usual (for example Add Media).
- Choose a folder to narrow the library. In WebPix Pro, the folder list sits in the window's left menu under the actions, or beside the library when the window has no menu.
- Select your image and continue editing. Uploads made in the window go into the open folder.
(Pro) Hovering a tile in the media grid shows its full file name.
Keep a folder away from the AI (Pro)
In a folder's menu, choose Never send to AI. Images in that folder are never sent to the AI by Media AI. See Describe images with Media AI.