
A watermark puts your logo or a line of text on the images visitors see, including the image sizes and the WebP/AVIF copies. WebPix keeps the clean files in a protected backup, so you can change or remove the watermark at any time.
Where to find it: ARN WebPix → Settings → Watermark.
A watermark is visible branding. It does not stop anyone from downloading or copying an image.
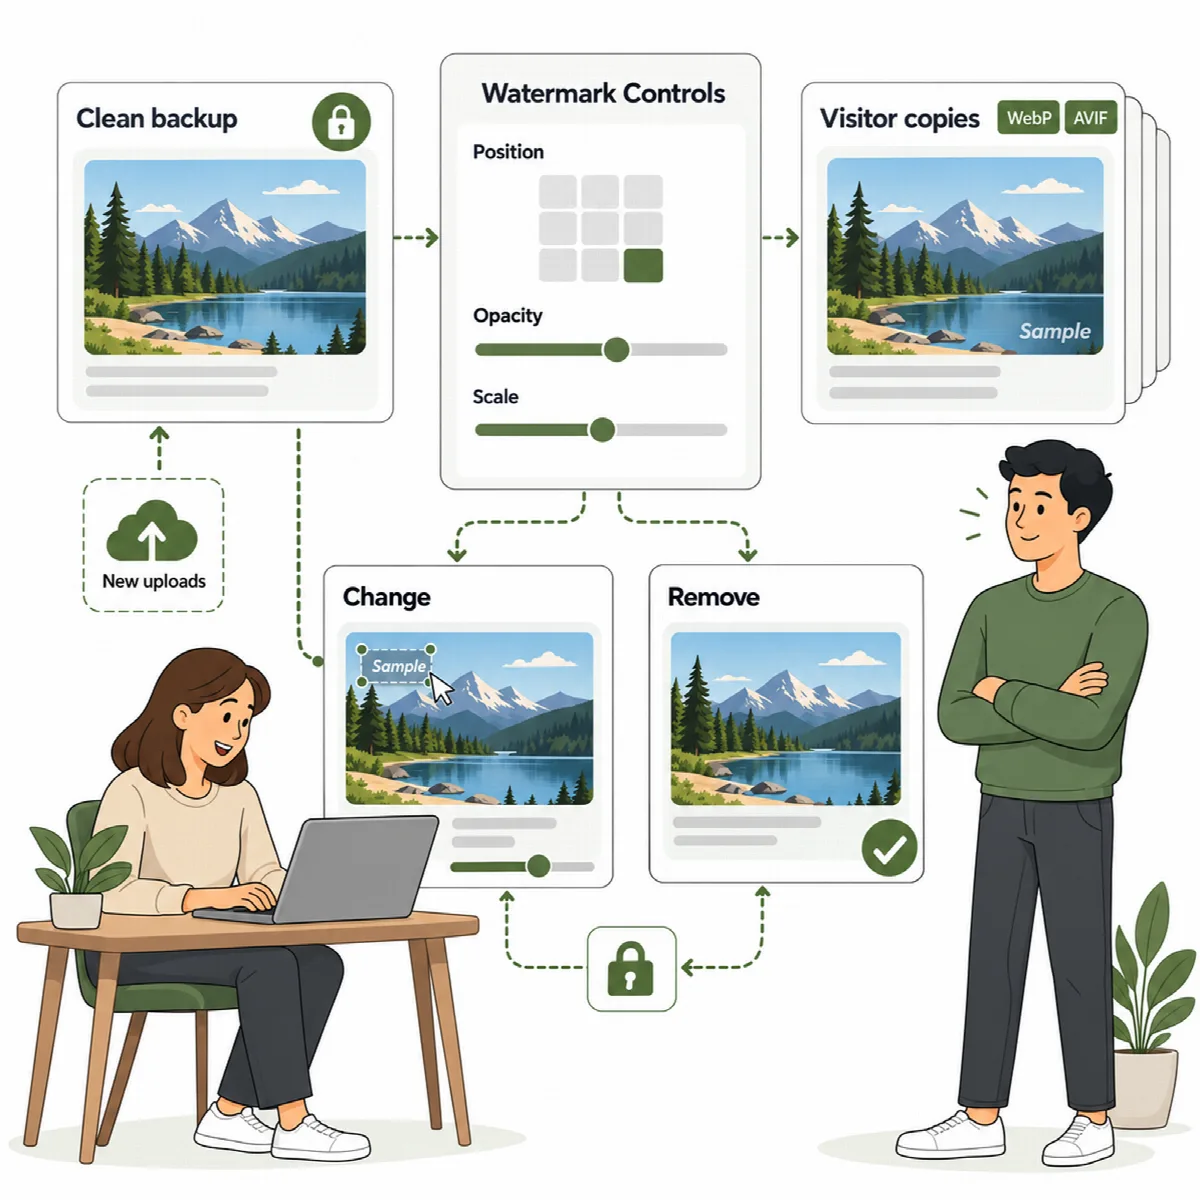
Set up the watermark
- Open Settings → Watermark and turn on Use a watermark.
- Under Type, choose Image (logo) and click Choose image, or choose Text and enter the Watermark text.
- Adjust the look (see the table below).
- Click Save changes.
A PNG logo with a transparent background looks best. Sharp text needs a TrueType font on the server; most Linux hosts have one.
| Setting | Default | What it does |
|---|---|---|
| Position | Bottom right | Nine positions, from Top left to Bottom right |
| Opacity | 60 | How visible the watermark is (10 to 100) |
| Size (% of width) | 20 | Watermark width as a share of the image width (5 to 60) |
| Distance from the edge | 20 | Pixels on a 1200 px wide image; smaller images get proportionally less |
| Skip images narrower than | 300 | Pixels. Keeps thumbnails clean. |
| Stamp new uploads | On | New JPG, PNG and WebP uploads get the watermark before their copies are made |
Apply it to your library
After saving, click Apply to the library. The job runs in the background. The card shows how many images are stamped. If you change the settings later, images with an older watermark are counted, so you can apply the new one.
Remove the watermark
Click Remove from the library and confirm. WebPix puts the clean files back on every stamped image.
Note: Deleting WebPix does not remove the watermark. If you no longer want it, remove it in Settings → Watermark before you delete the plugin. The clean backup files are kept when WebPix is deleted.
An upload that another plugin holds until it is approved is stamped only after it is approved. Media that is put on hold again keeps its watermark.