
Every support request in Ticketix is a ticket: one record with a number, subject, customer, product, category, priority, status, assigned agent and the full conversation.
Where to find it: Work → Tickets (administrators and agents).
How tickets are created
| Source | How it works |
|---|---|
| Customer portal | A signed-in customer uses Submit a ticket |
| Guest form | Anyone uses Submit a ticket on the portal; the ticket waits in Pending verification until the guest opens the link in the verification email |
| A message to your support mailbox without a known ticket reference opens a new ticket; the sender's display name becomes the customer name | |
| Your own application | An application sends the ticket through the ticket API; see Open tickets from your own applications |
| Agent | An agent or administrator clicks New Ticket at the top, for example after a phone call |
The ticket screen shows the channel under Key dates: Manual for a ticket opened with New Ticket, Portal, Guest or Email, or for a ticket from the ticket API the name of the application, with "with technical details" when it sent some. The channel names follow the language of the interface (English, Turkish or Arabic), and Reports uses the same names when it groups tickets by channel.
Each ticket gets a number such as SUP-000123. The number appears in the portal, in email subjects and in the administration. Each ticket also has a private link that opens it without an account.
Open a ticket for a customer
- Click New Ticket at the top of the administration.
- Under Customer, choose Existing customer and find the customer by name, company or email, or choose New customer and enter Customer Name, Customer Email and Company.
- Under Request, choose the Product and enter the Subject and the Message. The message is recorded as the customer's first message, so SLA, automation and reports work as usual. Add Attachments if needed.
- Set the Status, Priority, Category (Auto detect by default), Assigned Agent, Tags and an optional Internal Note.
- Select Notify customer by email to send the customer the ticket number, then click Create Ticket.
The first message and subject stay on the ticket as the original statement of the problem. Product and department forms can add their own fields; see Ticket forms and custom fields.
Statuses and priorities
| Status | Meaning |
|---|---|
| Open | New or waiting for the support team |
| Answered | The support team replied |
| Pending | Waiting for something; closes automatically after 7 days without an update |
| Waiting on customer | Waiting for the customer; the SLA clock pauses |
| Waiting on third party | Waiting for someone outside the team |
| On hold | Parked; the SLA clock pauses |
| Reopened | The customer answered a closed ticket |
| Manual review | A doubtful guest ticket that needs a check |
| Pending verification | A guest ticket that has not been confirmed by email yet |
| Spam | Marked as spam |
| Closed | Finished; the customer gets the Ticket closed email |
Priorities are Low, Normal, High and Critical.
Only administrators can set Pending verification and Spam. A closed ticket can only be reopened.
Ticket categories
A new installation starts with five categories: Billing, License, Installation, Updates and Bugs. When a ticket subject contains a keyword of a category, for example "invoice" or "install", Ticketix sets that category automatically. AI triage and routing rules choose from the same list.
Administrators manage the list under Setup → Support → Ticket categories. The list shows each category with its keywords and the number of its tickets. Use Add category, or click a category to edit it:
| Field | What it does |
|---|---|
| Name | The category name, up to 80 characters; each name once |
| Keywords in the subject | Words separated by commas, for example price, pricing, demo; letter case does not matter. Leave it empty for a category that is only chosen by hand, by AI or by a rule |
| Order | Categories are checked in this order; a new ticket gets the first category whose keyword appears in its subject |
Click Add category or Save category. Tickets keep a renamed category under its new name. Deleting a category asks for confirmation and says how many tickets become Uncategorized. A deleted category is also removed from form templates, mailboxes and saved reports, and rules that set it change nothing. Deleted starting categories do not come back.
To change the category of one ticket, open it, choose the Category under Actions and click Save. Agents can do this on the tickets they can open. The change is recorded in the ticket activity.
The ticket list
The ticket list shows the tickets you may open: administrators see every ticket, agents see tickets assigned to them, shared with them or sent to them for review. The number next to Tickets in the menu counts your open tickets.
- Views: All, My Tickets, Unassigned, Waiting customer, Urgent, SLA risk and Closed, each with its count. With AI triage turned on, Angry customer, Escalation risk and AI suggestion pending are added.
- Search and filters: search a ticket number, subject, customer or email. Search in limits the search to Ticket Number, Subject, Company, Customer Name, Customer Email or Custom fields. Filter by Status, Product, Priority, Assigned (or Unassigned) and Tag; Reset clears them.
- Saved views: click Save view, enter the Name of the view and, if you like, select Show this view first. The current filters and search become your own tab, marked with a star.
- Columns and pages: sort by Ticket, Product, Priority, Status, Assigned or Updated, choose the Rows per page and move between pages. The list shows "Showing … of …" with the total.
- Bulk actions: select tickets (or Select all on this page), choose an Action: Assign to, Set status, Set priority, Add tag, Close or Export as transcript, and click Apply. Ticketix reports how many tickets were updated and how many were skipped.
- Export: Export, next to Save view, opens the ticket export: every ticket you may open as Transcripts (TXT), JSON, or a ZIP with transcripts, data and attachments. An agent exports only the tickets assigned to them, shared with them or sent to them for review. See Reporting, recurring problems and exports.
The ticket screen
Open a ticket to work on it. At the top, Back to list returns to the list with its filters, and the position in the list (for example "3 of 41") comes with buttons for the previous and next ticket.
- Conversation: the customer messages and public replies in order. Long conversations show the latest messages; Show all opens the rest. Each message shows its source; technical details sent by an application appear under the first message.
- Reply: the reply box beside the conversation. See Reply, add notes and work together on a ticket.
- Internal Notes and Notes linked to this ticket.
- Activity: status, priority, assignment, tag, automation, SLA and AI events, each with the person or rule that caused it.
- Ticket Detail: Assigned agent and Additional agents, saved with Save assignment, and AI analysis when AI is on.
- Key dates: contact, company and number of tickets, channel, created, first reply due and first reply, resolution due, last update, resolved or closed, the SLA policy and whether it runs or is paused, the next response due and the customer rating.
- Actions:
- Status: one click on Open, Answered, Pending, Waiting on customer or Closed. More statuses and a reason offers every status and an optional Reason; click Change status.
- Category and Priority, each with Save.
- Tags: add or remove tags, then click Save tags.
- Close ticket, and for administrators Delete ticket.
- Customer, AI assistant, Followers and handoff, Supervisor requests, Related tickets, Captured data and Technical info (ticket number, reference, mail token and the public ticket link).
If another agent is working on the ticket, the screen says so ("… is editing"), and if someone changed the ticket while you were working on it, Ticketix asks you to refresh instead of overwriting the change.
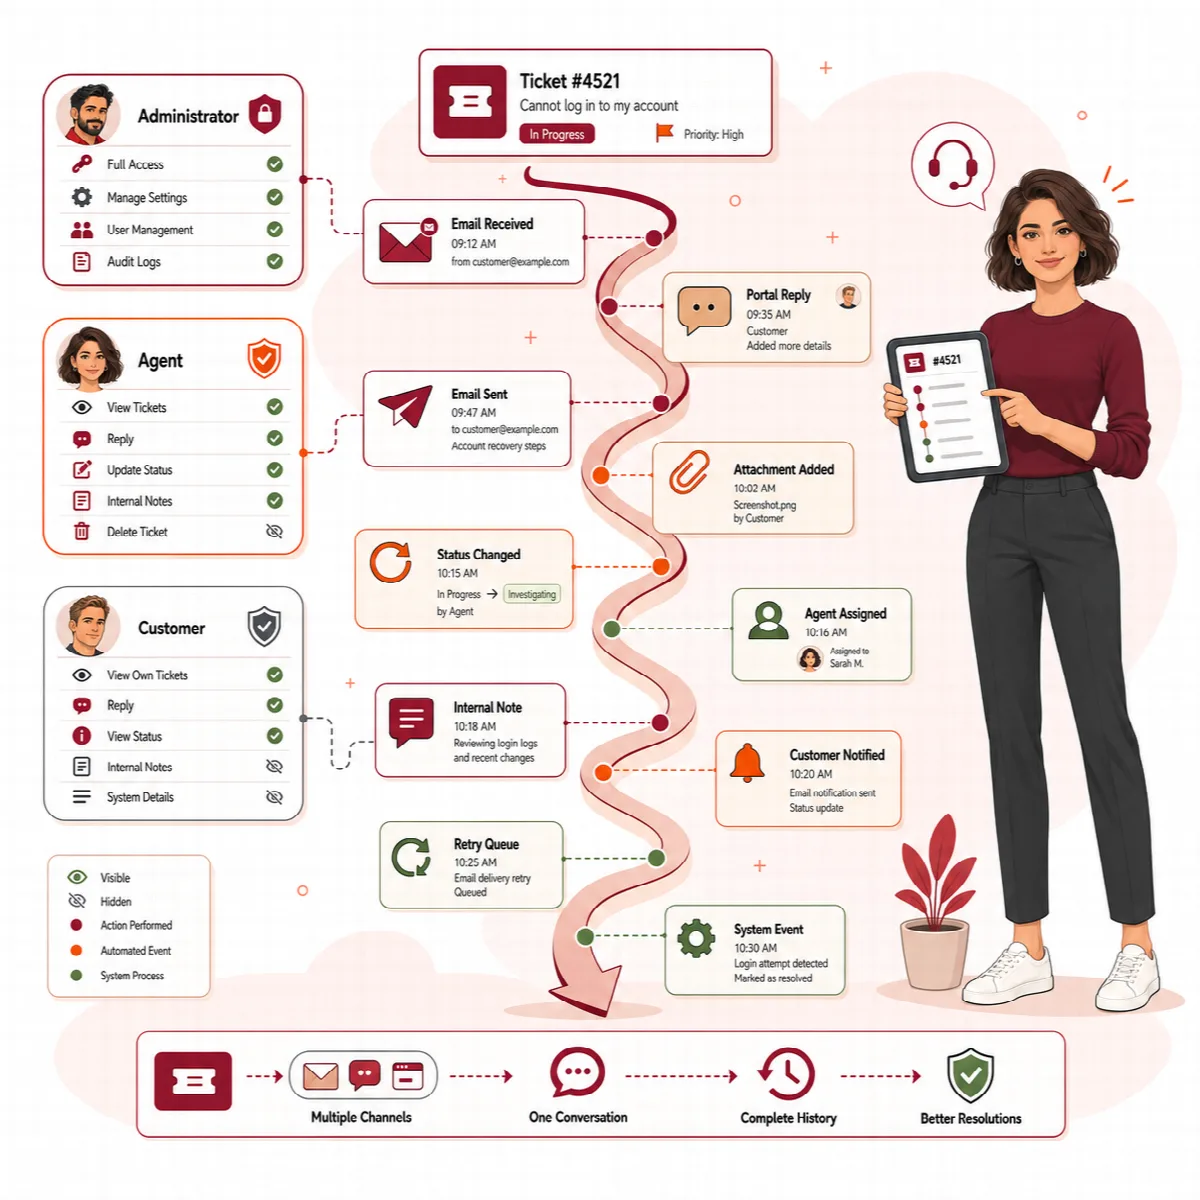
Close, reopen and delete
- Close ticket closes the ticket and keeps its record. The customer receives one Ticket closed email with a link to rate the support. See Email templates and the ticket-closed email.
- Automatic closing: tickets that stay in Pending or Answered for 7 days without an update close automatically when the scheduled task runs. The number of days is
auto_close_daysinconfig.php. - Reopening: a customer reply to a closed ticket reopens it.
- Deleting: only administrators can delete a ticket permanently, with Delete ticket on the ticket screen or Delete a ticket completely on the Tools screen. Agents close tickets instead. Deleting cannot be undone.