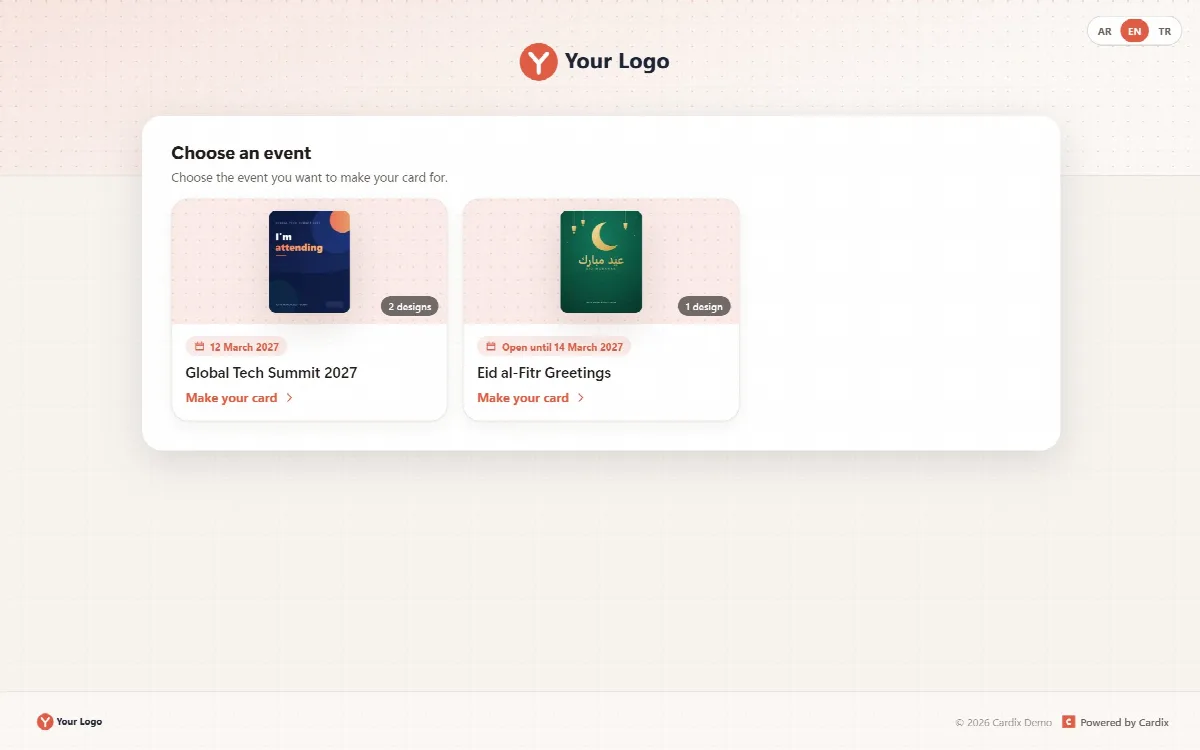
After the installation, follow these steps once. They take you from a fresh installation to a first event that participants can use.
1. Sign in to the admin panel
Open the admin panel address from the installation, for example https://cards.example.com/admin.php, and sign in with your Username and Password. Until you upload your own logo, the login page and the menu show the Cardix logo.
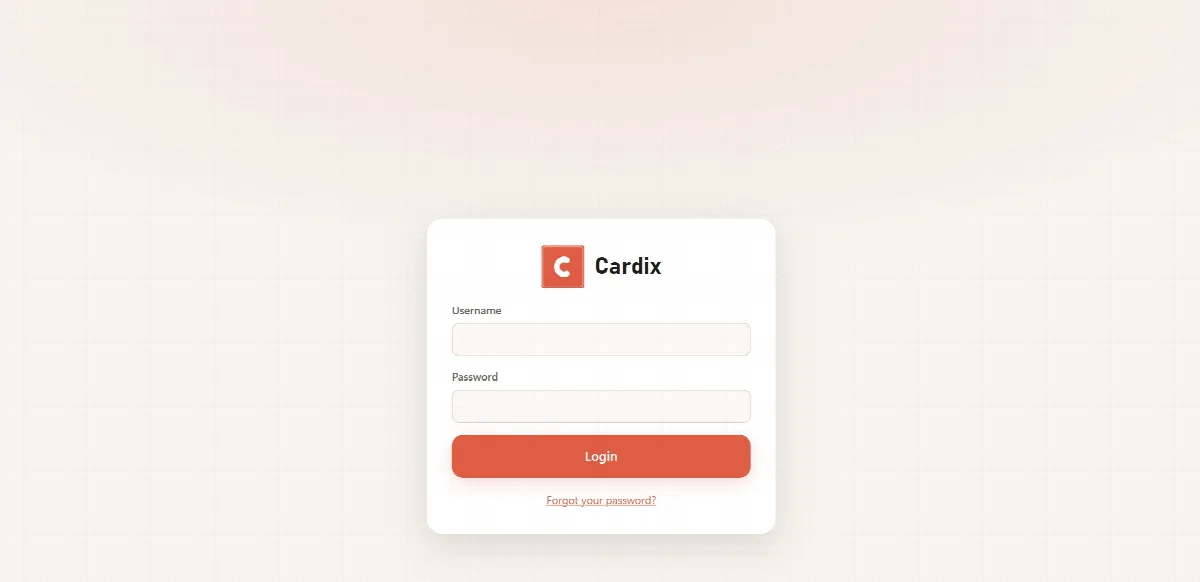
If you forget the password, use Forgot your password? on the login page. See Sign-in protection and security.
2. Find your way around the menu
The menu is the column of icons on the left (on the right in Arabic). Open the menu at its top shows the labels next to the icons; click it again to narrow the menu. On a phone the menu starts narrow and closes when you choose a screen.
| Menu item | What you do there |
|---|---|
| Events | Create events and invitations and set their fields, dates, access, data collection and participant page |
| Cards | Manage card groups for business cards and e-mail signatures |
| Templates | Upload the design images of events and invitations |
| Template Editor | Place the texts, the contact block and the logo on each design |
| Ready templates | Copy ARN Smart's ready e-mail signature, business card and event badge templates |
| Statistics | See how many cards were downloaded per year, event and design |
| Fonts | Install Google Fonts families, upload your own fonts and check the letters each font writes |
| Design | Set the default font, text colours, system colour, header image and logos |
| PWA / Mobile App | Set up the installable app of the participant page |
| System | Panel language and theme, site title, login notice, participant texts, social links, accounts, data export and the import of Cardix 2 data |
| License & Updates | The licence, the updates and Get support |
At the bottom of the menu you find the update button (only when an update is ready; it opens License & Updates), My account (your password), Homepage (opens the participant page), Logout and the installed version, for example v3.1.2.
The menu shows the screens of your role. The owner account created during setup is a full administrator and sees everything; see Administrator accounts and roles.
3. Check the basic settings
- Open System → General. Choose the System Language of the panel and the Panel theme (Light or Dark), check the Site Title in Arabic, English and Turkish, and enter your Privacy page address. Participants see a link to it when an event collects data.
- Open System → Social media and add the links shown in the footer of the participant pages.
- Open Design and upload your logos and, if you like, a header image.
See System settings, languages and panel theme and Brand the pages and set up the installable app.
If you used Cardix 2 before, bring its events, designs, fonts and collected data in now with System → Data → Import from Cardix 2. See Import your data from Cardix 2.
4. Follow "Getting started"
The Events screen shows a Getting started box with four steps until all of them are done:
- Create an event
- Upload its designs
- Place the texts and the logo in the Template Editor
- Share the link of the event with the participants
The steps done so far are ticked, for example "1 of 4 done". An open step that belongs to another screen has an Open button that takes you there. The box disappears when all four steps are done; the last step counts as done when a participant has downloaded a card or you opened or copied the link of an event.
A new installation already has one sample event, Eid Mubarak (key eid). It is a Simple event with two text fields (Arabic and English) and the logo, and it has no designs yet. You can use it for a first test, change it or delete it.
5. Create your first event
- Open Events and click New event.
- Enter the Key (unique), for example
eid2025. Use lower-case letters, digits,-and_; the key is part of the participant link. - Enter the Event name and choose the Field set: Simple (up to 3 text fields and a logo) or Advanced (5 text fields, a text box, contact and social media).
- Click Create event, then set the fields of the event on the Fields tab and click Save.
See Create and manage events and Set up the fields of an event.
6. Add a design and place the boxes
- Open Templates, click Upload Templates, choose the event under Select Event, choose one or more PNG or JPG images and click Upload.
- Open Template Editor, choose the event and a design, tick the fields under Boxes on the card and drag each box into place.
- Set the font, colour and size of each box and click Save.
See Add designs from uploads, blank and ready templates and Place texts and the logo in the Template Editor.
7. Make a test card and share the link
- On the Events screen, click Participant page in the header of the event. The participant page of the event opens in a new tab.
- Fill in the form, choose a design and download the card. Check the text, the fonts and the position of every box.
- Share the link with your participants, for example
https://cards.example.com/index.php?event=eid2025. The home page of your installation (https://cards.example.com/) lists every open public event.