
Vendix Pro extends the Header & Footer Builder with ready-made presets, nine more elements, mega menus and badges, animated backgrounds, a footer that reveals under the page, and tools that turn older layouts or a header screenshot into a new draft. For the basics of the builder, see Build a header and footer.
Where to find it: Vendix Templates → Header & Footer.
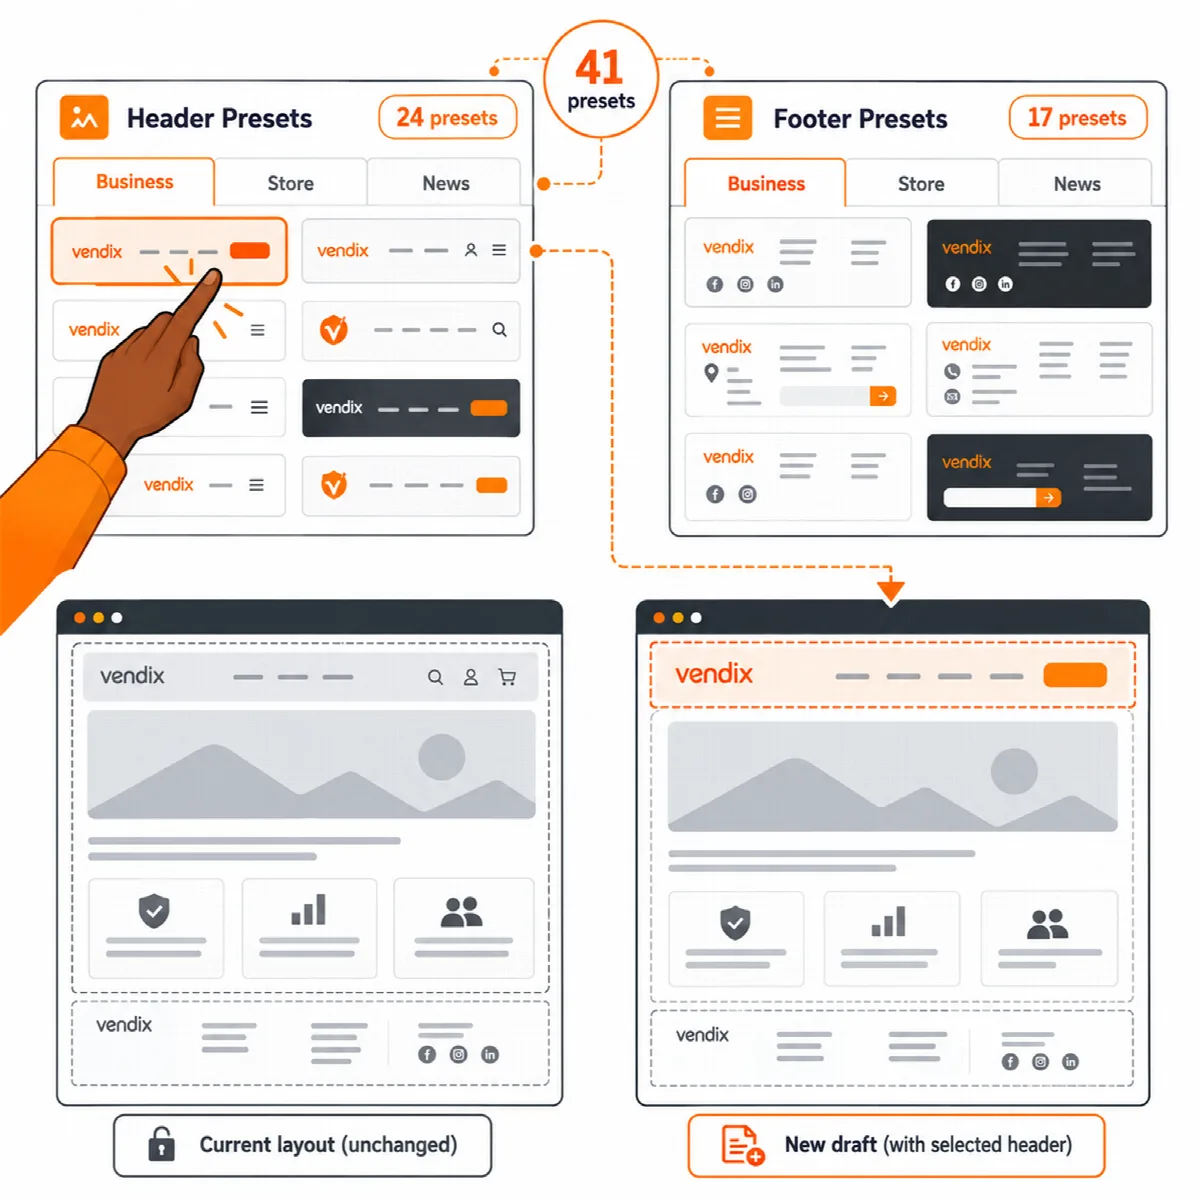
Start from a preset
- In Vendix Templates → Header & Footer, or inside the builder, choose Start from a preset.
- Pick a group and a preset. It opens as a new draft, so the layout you are editing and your published layouts stay as they are.
- Review the texts, links and contact elements, then set the display rules and publish.
| Group | Headers | Footers |
|---|---|---|
| Business | 13 | 9 |
| Store | 6 | 4 |
| News & magazine | 5 | 4 |
Presets show your site logo and menu, use short generic texts and take their colours from the Design System. Their links point to your own pages and categories when they exist (privacy, terms, shop and other usual pages), and to "#" otherwise. With Vendix Theme active, the group of its site type comes first and is marked as suggested.
To start a variant of any layout, use Duplicate: the copy opens as a draft.
The nine Pro elements
| Element | What it does |
|---|---|
| Newsletter | Sends the address to your email service's form address, or uses a form plugin's shortcode; Vendix stores no address |
| App store badges | App Store and Google Play buttons for your app links |
| Call to action band | A heading, short text and button, often the top row of a footer |
| Numbered large menu | Large links numbered 01, 02 and so on |
| Event card | A date box with the event name, time and place; by default it hides after the date |
| Country or city picker | A list of links that opens from a button |
| Compare icon | Links to the Store Features comparison page and shows its item count |
| Banner zone | Shows a zone from the Banners module while that module is on |
| Elementor template | Places a published Elementor template inside a row |
Add a mega menu and menu badges
- Go to Appearance → Menus and open a top-level menu item.
- In its Vendix header settings, mark it as a mega menu. Its sub-items then open as one to six columns of a wide panel in the header bar. A published Elementor template can follow the columns.
- To add a badge such as "New" or "Sale" to any menu item, enter the badge text (up to 24 characters) and choose a Design System colour: primary, secondary, accent, success, warning, danger or info. In link lists, write a line as
label|link|badge.
A sub-menu opens when keyboard focus moves into its item; Escape closes it. On touch screens, the first tap on a parent item opens its sub-menu. Panels and arrows follow the reading direction. Only users who can edit theme options can change these menu settings.
Add an animated background
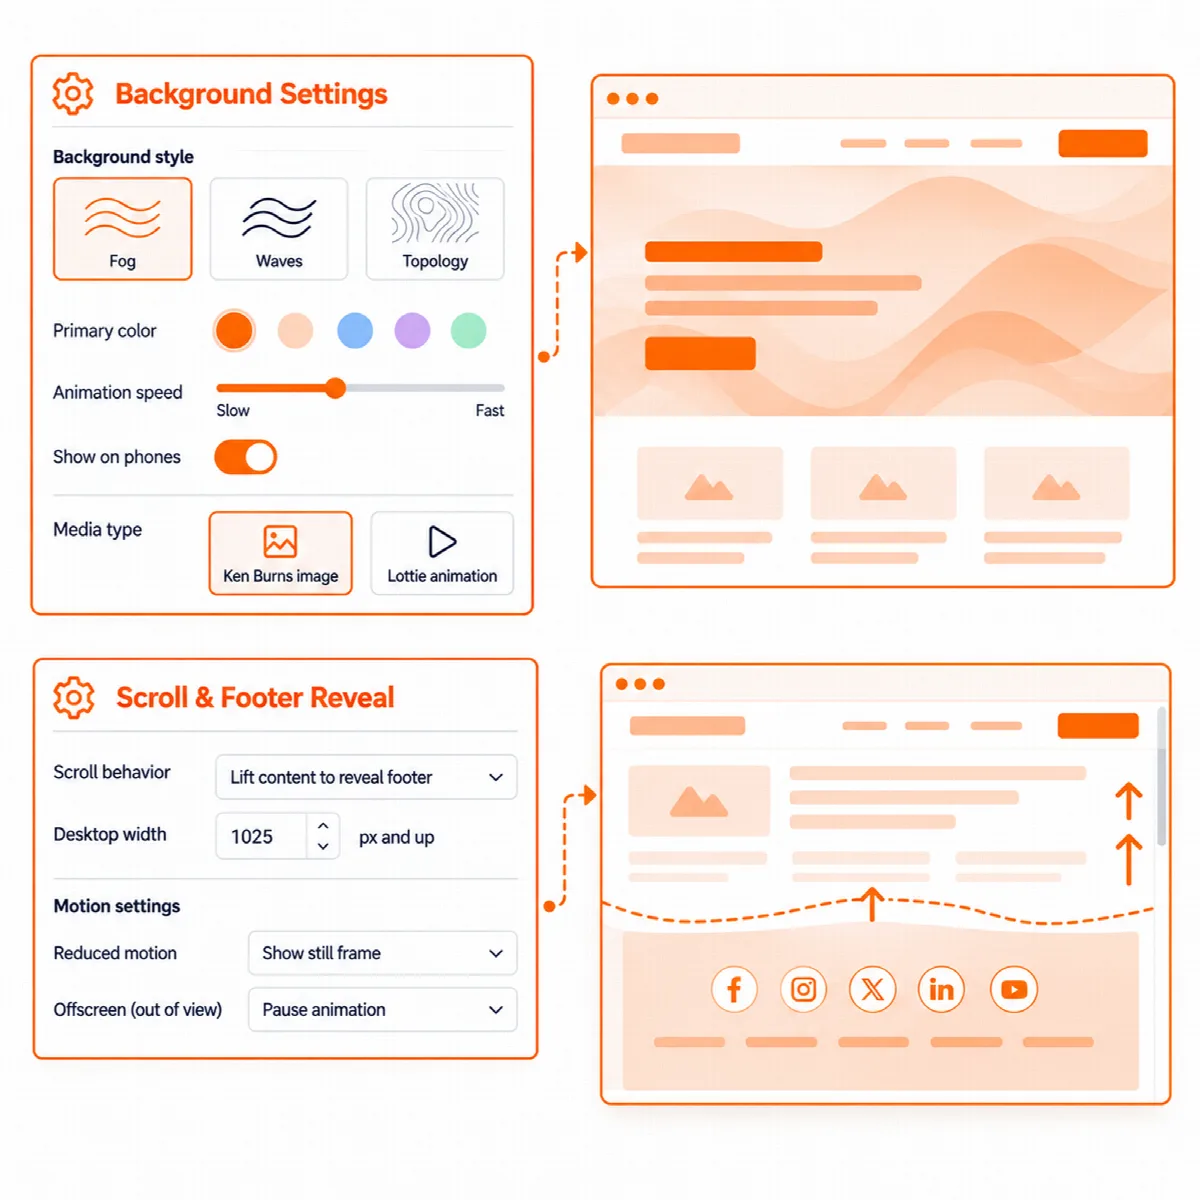
The whole layout, each row and each column can take an animated background: Fog, Waves, Clouds, Clouds 2, Topology, Cells, Animated Gradient, Aurora Gradient or Flow Field, with their colours, speed and other settings and a switch for phones. A background can also be a slow Ken Burns zoom over images or a Lottie animation.
Animation scripts load only on pages that use them and pause while their area is out of view. Visitors who prefer reduced motion see a still picture. Use one animated background per area and check the text contrast over it.
Reveal the footer under the page
With Reveal under the page, the page scrolls away to uncover the footer underneath.
- Open the footer layout and turn on Reveal under the page.
- Set the width from which it works: 1025 px by default, or 0 for every width.
- Choose a page edge shadow: none, light or strong.
The reveal is off by default, off in the Elementor editor and when printing, and turns itself off when the footer does not fit the window. Keyboard users who tab into the footer are taken to the end of the page.
Convert a layout from the former Vendix builder
Layouts made with the former Vendix builder stay in the list with a Convert action. Convert saves the old Elementor content as a published Elementor template and creates a new draft layout that shows it, carrying over the known sticky, transparent and scroll colours. The old record is kept, and the draft is set to the entire site until you choose where it shows.
Draft a header from a screenshot (experimental)
- In the preset window, choose From a screenshot and pick a header screenshot from the Media Library.
- ARN Smart AI saves a layout with the same structure as a new draft. Logos, texts and images are not copied: the draft uses your site logo, your site menu and Company Data.
- Review the draft and publish it yourself; nothing is published automatically.
This needs an image understanding model in the shared AI settings under Settings → ARN Center, and the screenshot is sent to that AI provider.