
The last step of the Contix Pro publishing package moves the article into WordPress. Contix prepares a verified version for the editor your site uses, hands the metadata to your SEO plugin and can recover if the transfer fails.
Where to find it: ARN Contix → Publishing → Publishing, step WordPress.
Before you start
Complete Metadata & Schema and Links & Sources first. See Prepare metadata, schema, links and sources.
Prepare the editor output
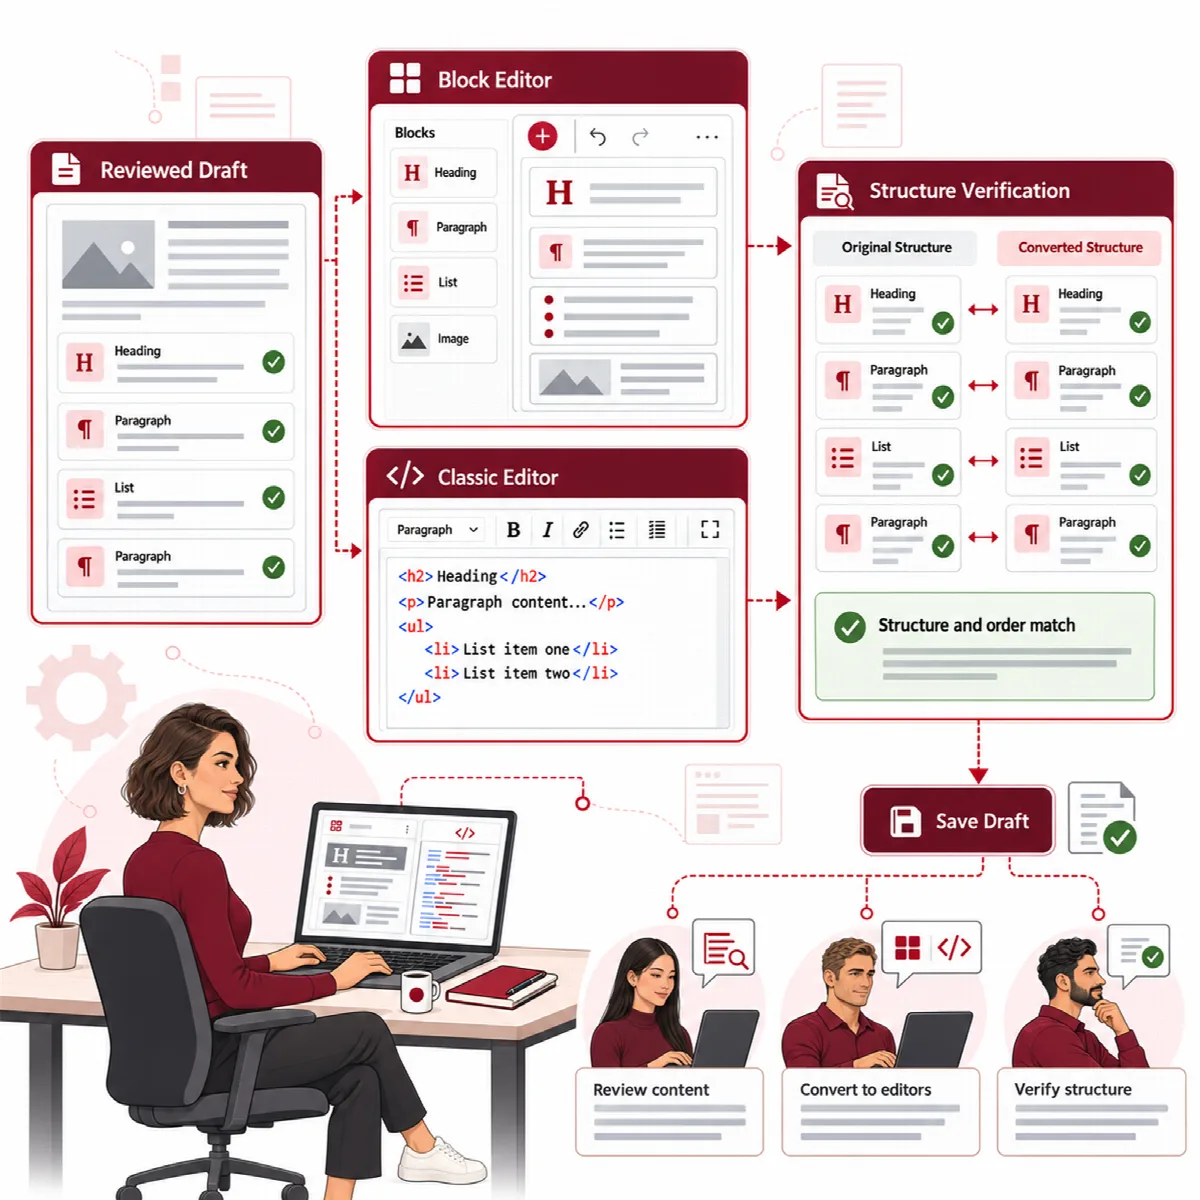
Click Prepare WordPress Publication Package. Contix prepares two versions of the article and verifies each one:
- Block output: headings, paragraphs, lists and other elements as Block Editor (Gutenberg) blocks.
- Classic output: clean HTML for sites that use the Classic Editor.
Each output is converted back and compared with the article, and the screen shows Verified or Failed for each. Auto detected shows the editor Contix found on your site.
Choose how to transfer
| Setting | Choices |
|---|---|
| Post Type | The WordPress post type for the article |
| Editor Format | Auto — preserve site / existing post, Classic Editor — clean HTML or Block Editor — Gutenberg blocks |
| Transfer Mode | Create / Update Draft, Schedule or Publish Now |
| Schedule Time (site timezone) | The date and time for Schedule |
| Existing Post ID (optional) | The ID of an existing post to update instead of creating a new one |
| Featured Image (optional) | Click Select Image to choose one from the media library |
| Tags and Categories | Tags separated by commas; categories from the list |
Auto keeps the active WordPress editor and the format of an existing post.
Confirm the review and transfer
Schedule, Publish Now, attaching an existing post and changing its editor format need a confirmation. Tick "I reviewed the final metadata, eligible schema, link/source report, selected editor output, categories, tags and media." Then click Transfer Safely to WordPress.
Creating a new draft does not need this confirmation. Nothing reaches WordPress until you click the transfer button.
If the transfer fails, Contix recovers: a new post is moved to the Trash, or the previous version of an existing post is restored. The screen shows New post moved to Trash, Previous post restored or, rarely, Recovery failed.
After the transfer, click Open WordPress Editor and check the real content, layout, metadata and links. Note the WordPress post ID so that you can find the right post later. Rebuild Verified Package prepares the editor output again after a change.
Where the metadata goes
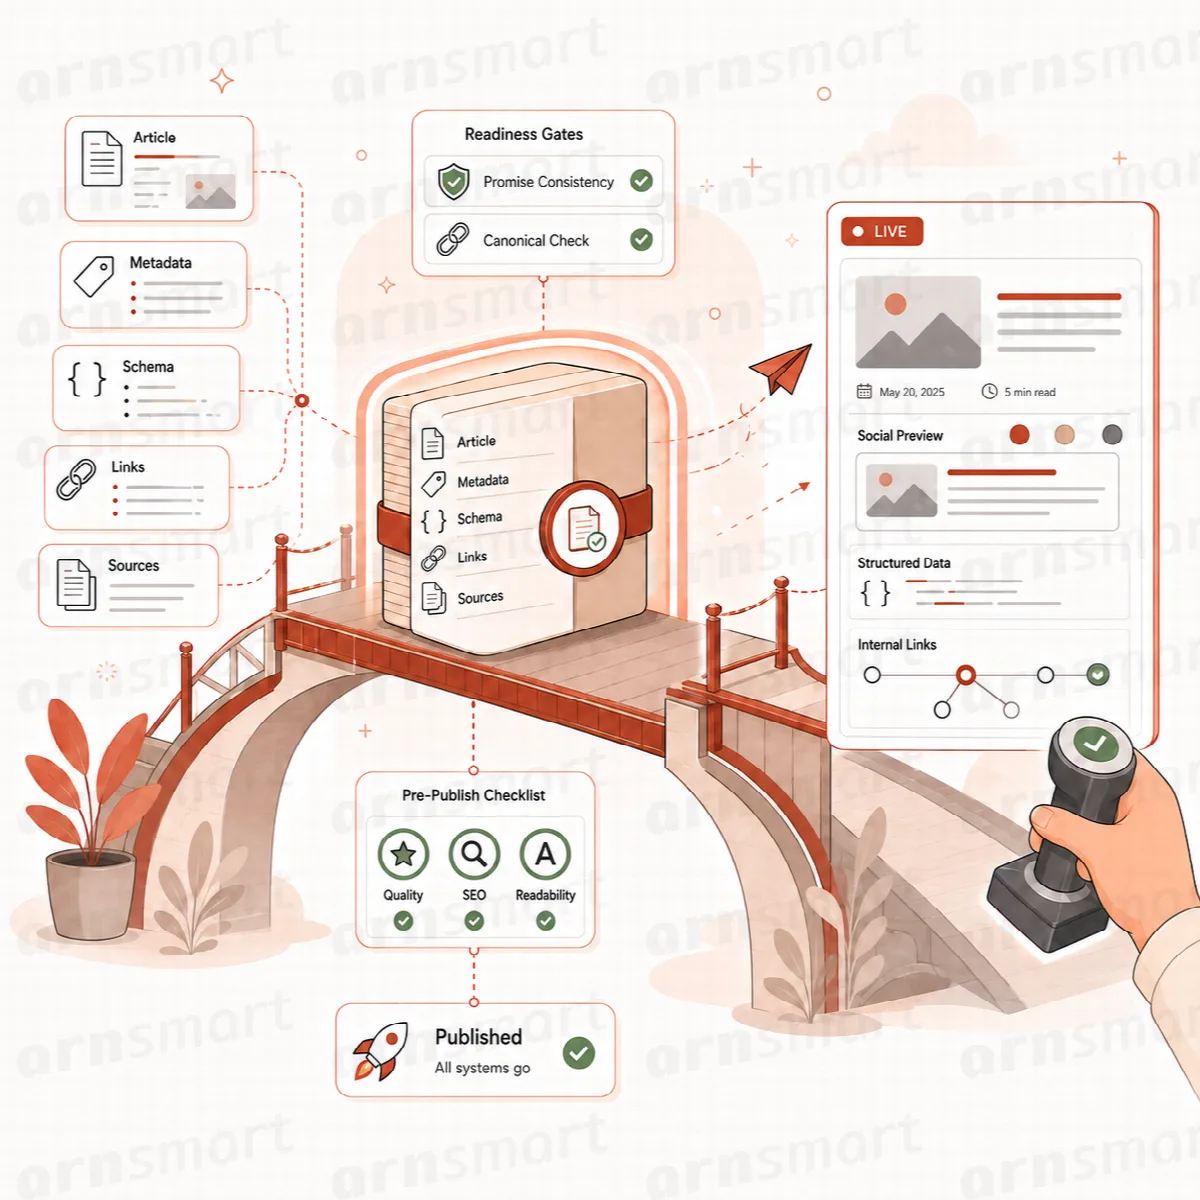
Contix hands the chosen title, description and social title and description to the plugin that prints them for the post. You do not enter them again by hand.
| Active on your site | What Contix does |
|---|---|
| Rank Math | Writes the values into the Rank Math title, description and Facebook fields |
| Yoast SEO | Writes the values into the Yoast SEO title, description and Open Graph fields |
| ARN Vendix, when it prints the SEO tags of the post | Writes the values into the Vendix fields, so the page has one meta description |
| None of them | Prints the title, description, social tags and share image itself |
Contix checks in this order: Rank Math, then Yoast SEO, then ARN Vendix.
In every case, Contix prints the validated schema graph for the post. Yoast SEO and Rank Math schema output is turned off on those posts, and ARN Vendix leaves its own schema out. ARN Vendix is recommended because it also manages redirects.